Saturday, August 25, 2018

Day 9 of Building

Hello!

Day 9 was a very exciting day for us.  We are now at the point where the teardrop actually looks like a teardrop!  We flipped the camper over and did some work on the inside.  But before we got to that point we sanded and cleaned the floor, and added another coat of epoxy to the kitchen area.  Once everything was ready, we lifted the floor up and over the teardrop shell and set it into place, fitting the small pre-cut notches into slots all along the edge.  Similar to getting the counter to fit on Day 7, we had to do some sanding and shaving where the floor wouldn't slide nicely into place.  Once all of the floor edges fit on the teardrop shell, we drilled the shell to the floor so that it would stay still when we flipped the entire thing over.

Speaking of flipping the entire thing over - man, that was quite the maneuver!  Luckily, we had a helper there to give us a hand (thanks Dorian!).  As we tipped it on its side, we slid boards underneath so that it would be supported up off the ground.  Once it was right side up, we were able to crawl inside!  We spent the rest of the evening sealing the seam between the floor and shell with fillet and fiberglass tape.  Soon it'll look even more like a camper when we take the mold off!

Hour Count:
Day 9 -- 7.5 hours

Total Time -- 45.5 hours

Sanding the floor
Second coat of epoxy
Fitting the floor to the shell
Lining up the notches
Drilled the shell to the floor
It's right side up now!

Crawling in and out of the teardrop through the open end


We fit inside!!


Wednesday, August 22, 2018

Days 6-8 of Building

Hello all!

On Day 6 we installed the bulkhead, hatch stiffener, back ledge, and put stiffeners on the kitchen counter panel.  The bulkhead separates the sleeping area from the kitchen, and was sealed into the rest of the shell with fillet.  The hatch stiffener was also installed with fillet, and helps the hatch to stay sturdy when it opens and closes.  We added a small lip that is ultimately the edge of the lid around the back of the teardrop, again with just fillet.  To prep the kitchen counter for the next day, thin stiffener boards were attached to one side of the panel with wood glue.  I was really glad that there was no fiberglass involved on this day, since it slows us down to have to get the strip fully soaked with epoxy.  After we finished with the ledge, we sanded down the teardrop floor.  Before we got the floor sanded though, we had a little visitor come into the garage!  A little frog had hopped in and was checking out our great glue job on the teardrop floor.  We didn't want to end up stepping on him or letting him get to any epoxy, so I shooed him out and closed the garage door.

The majority of work on Day 7 was installing the kitchen counter.  To do this, we fit the counter panel into the pre-cut slots in the bulkhead.  This sounds rather simple, but it took us a long time to get the sides sanded enough to fit properly into place.  Small panels were also installed, which will make up part of the back wall of the teardrop.  Fillet was applied around the edges of the counter and wall panels, then left to dry.  We also added the first coat of clear epoxy to the teardrop floor.

Day 8 was quick and relatively easy.  We added the second coat of epoxy to the floor so that it's ready to install tomorrow - exciting!  Then we sanded down the underside of the counter and wall panels.  Once everything was smooth and wiped down we added a coat of clear epoxy so that those surfaces and joints will be a little stronger and look nicer.

Tomorrow we get to add the floor and turn the whole teardrop upside down! (Which really means it'll finally be right-side up, since the shell is laying upside down in the mold.)

Hour Count:
Day 6 -- 7 hours
Day 7 -- 4 hours
Day 8 -- 2 hours

Total Time -- 38 hours

Stay tuned for more building!
-Kelly
Teardrop floor

Bulkhead and stiffeners are stitched into shell
Teardrop was tipped up on end to get bulkhead in

Weight placed on top of counter stiffeners

Lip/Hatch Lid around back of teardrop

Our frog visitor!

First coat of epoxy on floor on Day 7


Kinda broke a paint roller

The counter is installed and weight is on it so that it dries tight to the shell

You can see the bulkhead and counter
Sanding the kitchen on Day 8


Beautiful first coat of epoxy in kitchen!


Monday, August 20, 2018

Days 3-5 of Building

Hi everyone, it's Kelly again.

Days 3 through 5 involved installing the rest of the wall panels.  It's all coming together quite well, and soon we'll be able to add the floor of the teardrop!

We stitched in the wall panels that touch the roof on Day 3, and saved the big job of sealing the seams with fiberglass and epoxy for Day 4.  Sealing the seams was similar to when we joined the puzzle joints on the long roof panels.  First we added some super glue and drying accelerant between the copper wire stitches, then started mixing our epoxy while the super glue dried.

For the big seam down the middle of the roof, we cut out the stitches, painted on a light coat of epoxy, then rolled out the fiberglass strip over the seam and added another coat of epoxy to saturate and seal the fiberglass.

The seam between the roof and first side panels is at more of an angle, so we have to use a thicker epoxy to fill in any gaps before laying on the fiberglass.  This epoxy has wood flour (aka really fine sawdust) added to it, and gets poured into a bag with a cut corner (like a pastry bag).  After squeezing it across the seam, we scraped over the thick epoxy (called fillet) to press it into the seam and remove the excess.  As with the previous seam, we laid out the fiberglass and added a coat of the clear epoxy.

On Day 5, we installed the last wall panels.  The process was very much the same as the previous days: stitching the panels to each other and the mold, super gluing the seams, cutting out the stitches, adding epoxy/fillet, then finishing with the fiberglass/epoxy combo.  In order to have easy access to the seams and to ensure the epoxy wouldn't drip down into the teardrop shell, we tipped the entire teardrop on its side.

The last two things we did on Day 5 was to prep both the bulkhead and the floor of the teardrop.  For the bulkhead, we had to join some pieces together with puzzle joints.  The bulkhead will be attached near the rear of the teardrop shell, and will separate the kitchen area from the sleeping area.  The floor came as two thick wooden panels that needed to be attached to each other, so we used epoxy to glue them together, then drilled on a board across the entire length of the seam so that the floor will be sturdy.

Hours worked:
Day 3 -- 2 hours
Day 4 -- 4 hours
Day 5 -- 9 hours

Total Time -- 25 hours

Where we ended on Day 3
Superglue on the seam

Adding epoxy to fiberglass on Day 4
Smoothing out the seam to make sure there aren't any bubbles

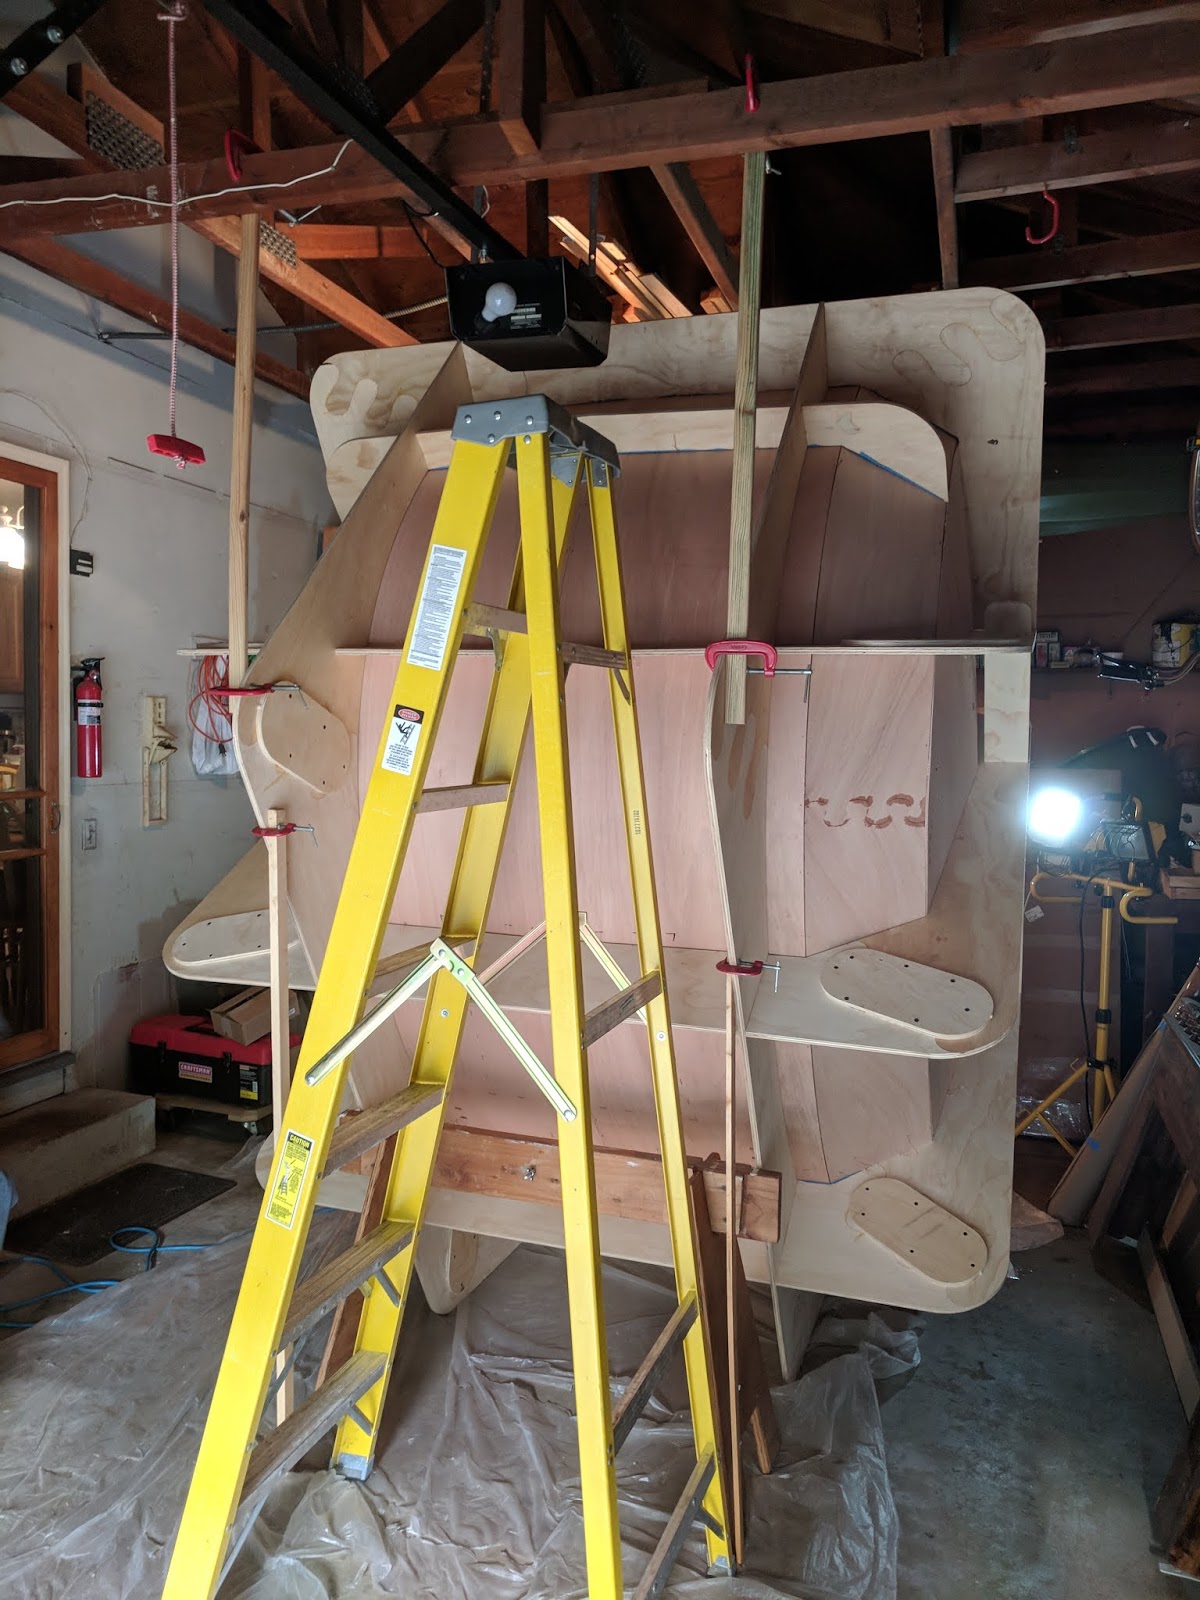
Sometimes it was difficult to reach the seams because of the mold
Smoothed out fillet

One side of fillet ended up much neater than the other

Stitching in the panels on Day 5


All of the side panels stitched in on Day 5
We tipped the teardrop on its side to have easier access
Superglue on Day 5

Fillet and epoxy on the side panels


Monday, August 13, 2018

Day 2 of Building

Hi all, it's Kelly again.

We were back in the garage the very next day getting the teardrop roof installed into the mold. Because we had to wait for our fiberglass/epoxy seams to set overnight and throughout the day, we didn't start work until the evening.  Our first step was to sand down the strips of fiberglass on the roof and wall panels that we had epoxied on the day before.  We donned masks and safety glasses as we smoothed out the seams, then Cody prepped the roof pieces while I prepped the mold for installation.

Before slotting the pieces into the mold, they have to be secured to each other. To do this, Cody stitched the two roof panels together by threading wire through pre-cut holes (kind of like making a book by tying pages together). To minimize scratching, I covered the mold in painter's tape along the edges where it would touch the panels.  We then lifted the roof panels up, unfolded them along the wire stitching edge, and set them into the mold.  Pushing these panels down to fit the curve of the mold was pretty difficult, and after fitting it as closely as we could, we moved on to the next step - stitching the panels to the mold itself.  This was definitely the hardest part of Day 2.  In order to reach the bottom of the mold to push the wires through, I held one end of the teardrop above my head while Cody threaded and tied the wires.

We thought there would be enough time to tie in the wall panels after we got the roof in, but it took a lot longer than expected to get everything tied on the roof.  We ended up simply laying the walls inside the mold and leaving it for another day.  It was a short work day (only 3 hours), but boy are we tired.  Check back next week for more updates and Day 3 of building!

Hour Count:
Day 2 -- 3 hours

Total Time -- 10 hours

-Kelly
Where we left off on Day 1
Puzzle seam with dried epoxy
Time to sand down the seam
Ready to go
Tying in the wire stitches
Stitches showing through the back of the panels

Roof panels installed, next are the two side panels


Saturday, August 11, 2018

Day 1 of Building

Hey y'all, Kelly here.

Finally, after weeks of waiting for the shipment and Cody pouring over the builder's manual, we finished our first full day of working on the teardrop.  We spent 9+ hours prepping our work space, taking all of the wooden pieces out of boxes, going through our materials inventory, making a run to Menards, assembling the mold that we will use to form the shell of the teardrop, and finally connecting the roof and wall pieces to be installed on Day 2.

After taking the pieces out of the shipping boxes and checking over our inventory, we started by creating the base pieces of our mold.  The mold is essentially a big wooden skeleton that the walls of the teardrop will fit into so that everything bends and connects just right.  If any of the pieces of the mold are put together incorrectly, we'll have a warped shell or more likely, a shape that does not look like a teardrop at all.  Luckily, while I was daydreaming about all the trips we'll eventually go on, Cody was reading through the manual and familiarizing himself with what to expect when we finally started building.  

The wood pieces that come in the kit are too long to ship the full length we need them during the build, so they came as two or three pieces each that have puzzle-type seams.  After slightly sanding the edges of the pieces, we put some wood glue along the puzzle edges, fit them together, then glued and drilled on a stabilizing piece of wood to each seam.  I'm going to be honest, this was my first time ever using a drill (something new every day!), but we ended up with all of our mold pieces glued together and ready to go.  Each piece has notches that interlock, so we spent some time locking each one in place and drilling them together so that they won't wobble when we add the teardrop walls.  

At this point, we had a giant skeleton in the garage, it was getting darker, and we were exhausted.  The next steps of the build require us to use strips of fiberglass and epoxy to create strong, watertight seals, which means that we'll have to wait for the epoxy to dry overnight.  We wanted to get a head start on this process, so we shuffled our skeleton as far back as possible and took out the roof and wall pieces of the teardrop.  After laying out extra plastic and connecting the puzzle seams, we added a small drop of super glue to each finger of the seam so that it would stay still overnight.  We then got on some gloves, cut and laid the fiberglass strips, and mixed up some epoxy.  Now comes the coolest part of the whole day.  When the epoxy is brushed onto the fiberglass, it soaks through and the white fiberglass strip becomes clear - we can actually see the wood through the fiberglass!  The epoxy will dry as time goes on, and after sitting out for almost 24 hours we will have strong, solid seams on roof and wall pieces that we can lay into the mold skeleton. 

Hour Count:
Day 1 -- 7 hours

Check back for Day 2!
-Kelly